
Deploying an Application Using Elastic Beanstalk: A Step-by-Step Guide
We can see here deploying a basic PHP based application using AWS beanstalk service. we want to run y our application in AWS without having to provision, configure, or manage the EC2 instances ourself.
Creating a Service Role for Elastic Beanstalk
First, you’ll need to create a service role for Elastic Beanstalk, allowing the service to deploy AWS services on your behalf. Follow these steps:
- Search for IAM in the AWS console.
- Select “Roles” and then “Create role”.
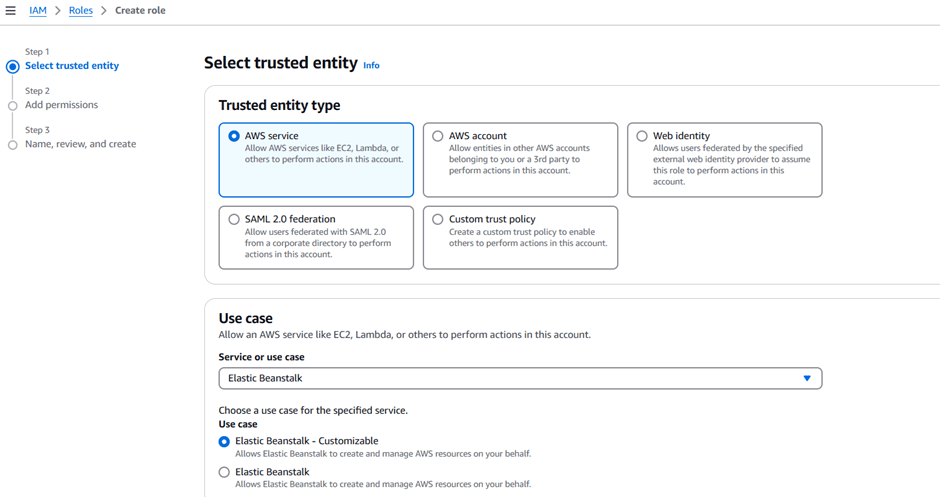
- Set the Trusted entity type to AWS service.
- Under Use cases, search for Elastic Beanstalk and select “Elastic Beanstalk – Customizable”.
- Click “Next”, and then “Next” again as the permissions are automatically selected.
- Name the role
ServiceRoleForElasticBeanstalk. - Scroll to the bottom and click “Create role”.
REFERENCE SCREENSHOT
Configuring an EC2 Instance Profile for Elastic Beanstalk
Next, you’ll configure an EC2 instance profile to give the instance the required permissions to interact with Elastic Beanstalk:
- Select “Create role” again in IAM.
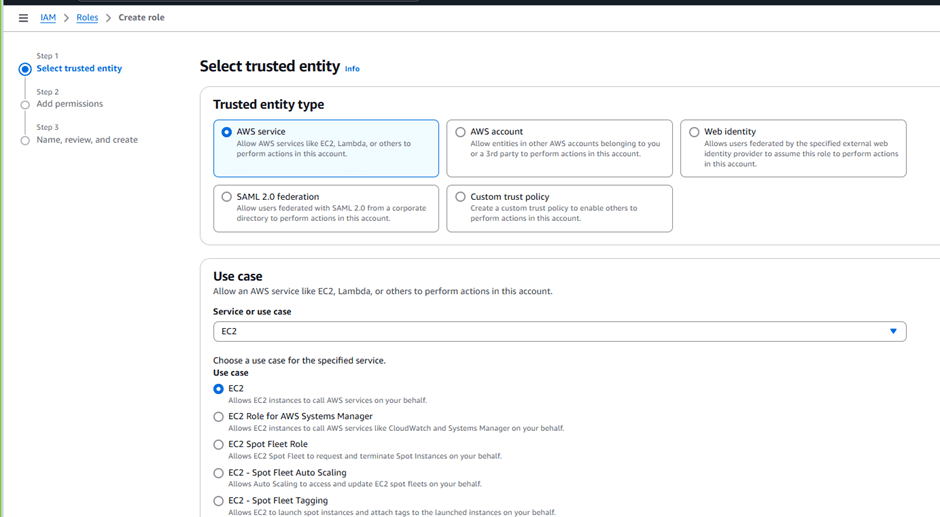
- Set the Trusted entity type to AWS service.
- Under Use case, select EC2 under Commonly used services.
- Click “Next”.
- Search for
AWS Elastic Beanstalk read only policyand select it. - Click “Next”.
- Name the role
CustomEC2InstanceProfileForElasticBeanstalk. - Scroll to the bottom and click “Create role”.
REFERENCE SCREENSHOT
Creating Your Application
Now, you’re ready to create your application by uploading the provided code:
- Search for Elastic Beanstalk in the AWS console.
- Select “Create application”.
- Choose “Web server environment”.
- Enter the application name as BeanStalkDemo.
- Choose a managed platform and select PHP.
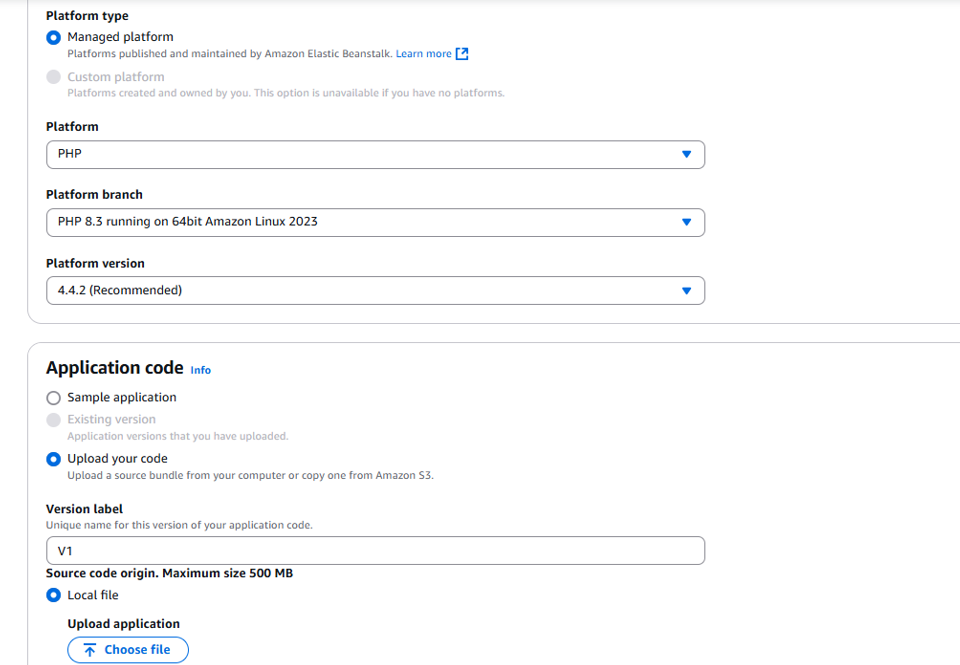
- Under Application code, upload your code. Set the version label to
v1.
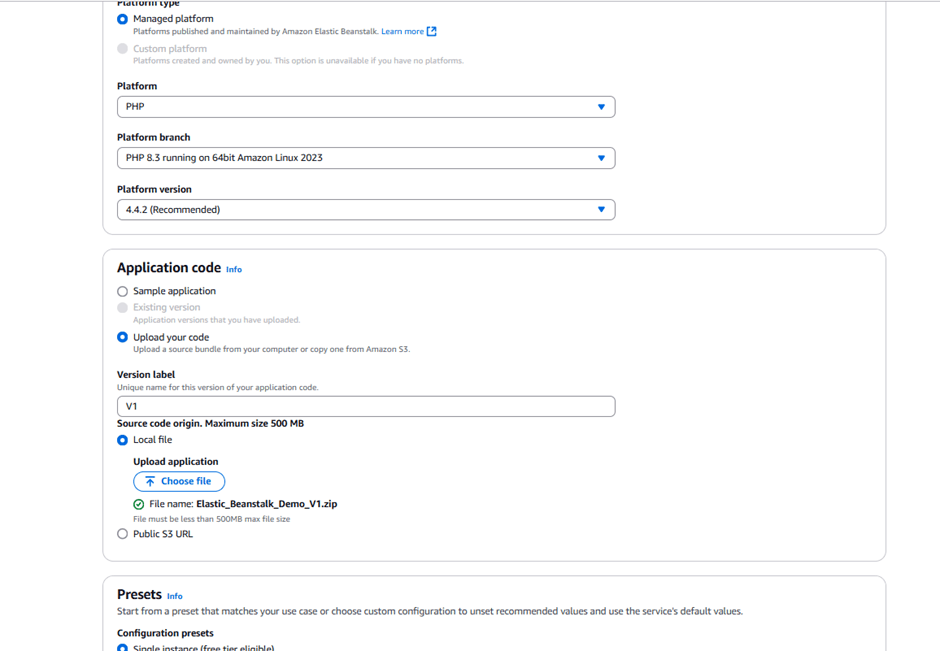
- Use the file you downloaded earlier.
- Under Service role, select
ServiceRoleForElasticBeanstalk. - Under EC2 instance profile, select
EC2InstanceProfileForElasticBeanstalk. - Click “Next” through the optional configuration pages.
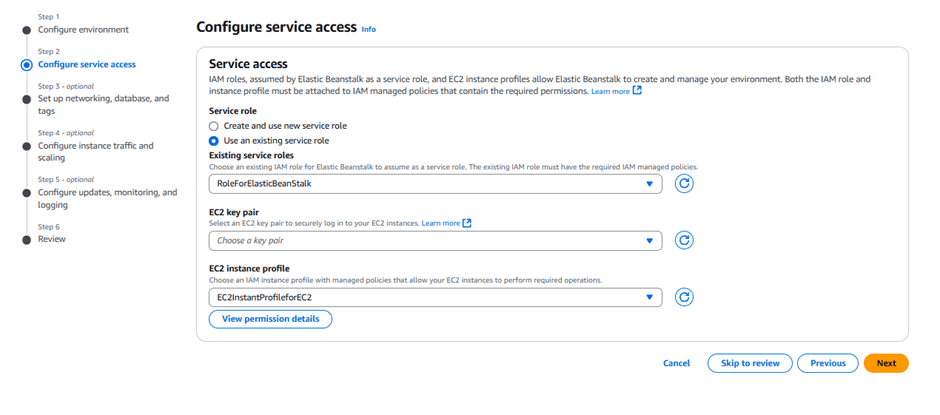
- On the Configure updates, monitoring, and logging page, select basic health reporting and deactivate managed updates.
- Click “Submit”.
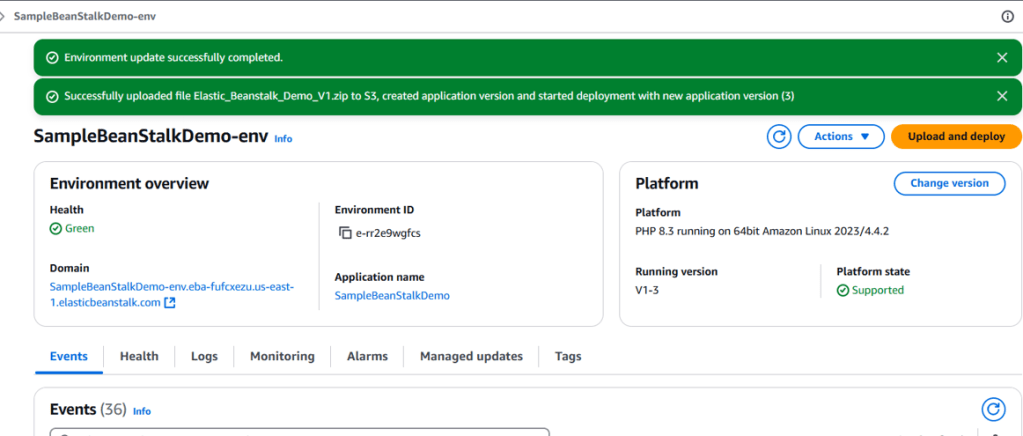
Launching and Accessing Your Application
After a few minutes, your Elastic Beanstalk environment will be ready. You’ll see a confirmation message, and you can click the domain URL under the Environment overview to access your application.
Hit the Domain URL it should take us to the deployed website.
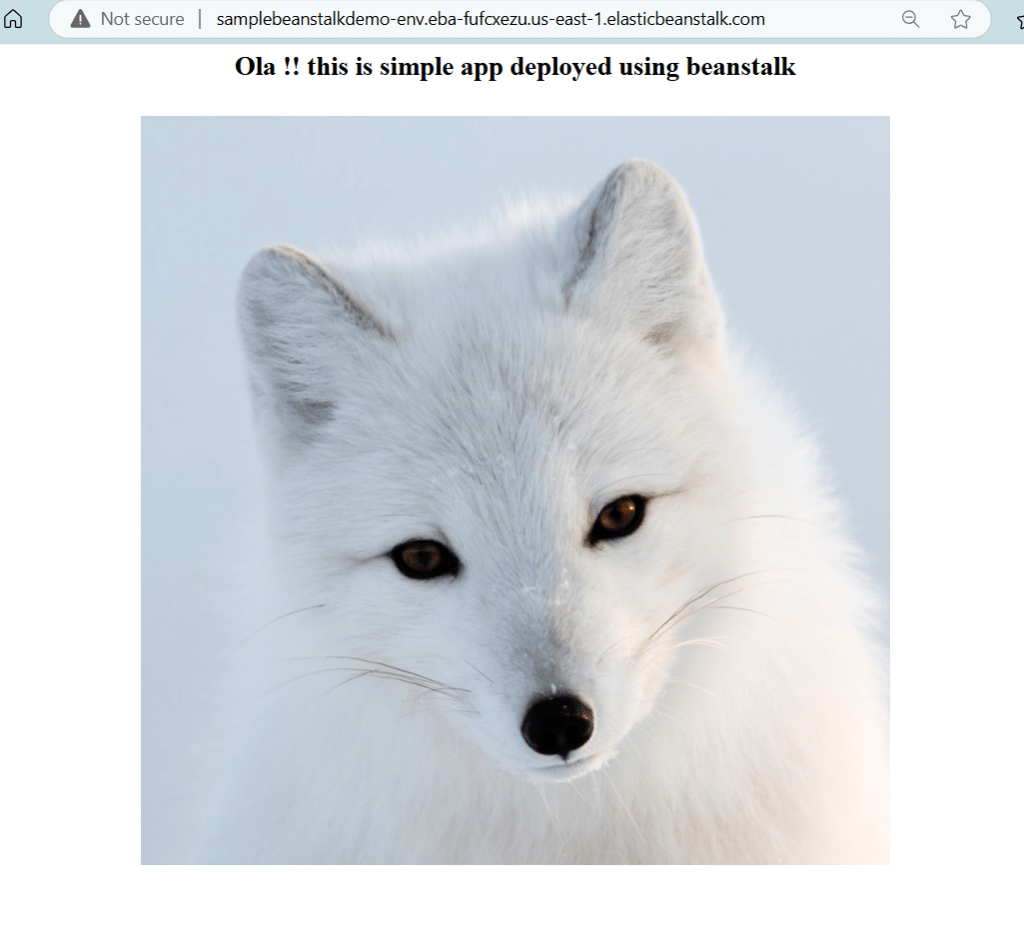
And there you have it! Elastic Beanstalk deploys and scales your web applications, provisioning the necessary AWS resources such as EC2 instances, RDS databases, S3 storage, Elastic Load Balancers, and auto-scaling groups.
